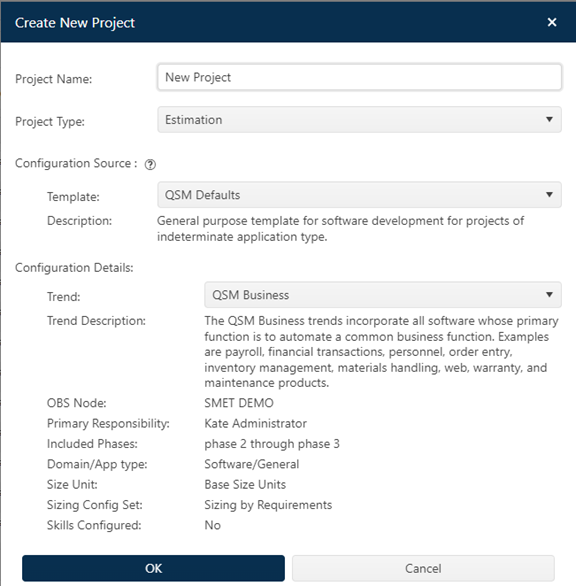
To create a new private project, simply create a new
project, edit the project settings, assign a user with Primary Responsibility,
and save the project. The user with Primary Responsibility can then edit
the project and make it private. Projects created using a configuration
source that grants Primary Responsibility to the project creator can skip the
intermediate step of assigning Primary Responsibility and saving before
returning to the Access tab to edit the private projects checkbox.

Templates do not have a private project checkbox, so they cannot transfer that setting to newly created projects. Likewise, projects created from existing private projects or imported from SLIM-Estimate or SLIM-DataManager will not be private until the user with primary responsibility edits the private project checkbox on each project’s access tab and saves the project.
Note: Since the project name is saved to the Activity table of your SLIM-Collaborate database when it is created or imported, you may wish to use a secure name when creating or importing new projects to prevent the unencrypted project name from showing up in the Activity table. You can always edit the project name once it is private. Private project names will show up as “private project” in the site database.